2007 RTV900 Restoration

RydForLyf

Member
The famous saying goes something like this.....

"If I'd only known then what I know now".

This is the beginning of the story of the "Orange Buggy" as my wife calls the RTV900 we got at Ritchie Bros. auction back in November. We were looking for a side by side to use on our property and didn't want a new one so I found a bunch being sold off at auction and was confident I could pick out a good one from the 15 or so on the block that day. I checked them out and settled on a couple that looked OK. They were admittedly rough, but operational without too many overly obvious problems.
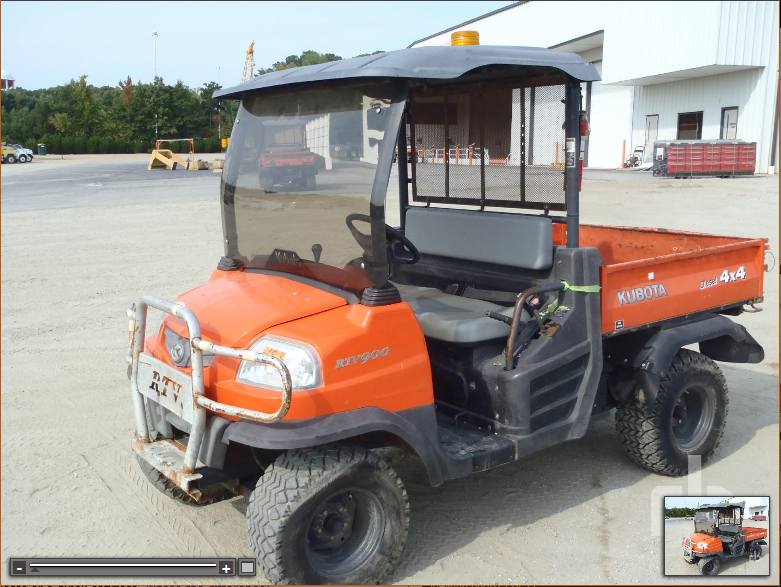
HotasBuggy.png


Auction day came and went and we were now the proud owners of a 2007 RTV900 with just over 2,000 hrs. We got it home that weekend and started to do a more thorough inspection than you could do at the auction site. What we found was a lot of evidence that this unit, and all of the others sold, must have worked on some sort of industrial construction sites that exposed it to some pretty harsh/corrosive/acidic/caustic exposures. It's not like parts were eaten away or dissolved, but all of the yellow electroplated parts all had a white crusty surface on the and all of the electroplated nuts and bolts looked the same.

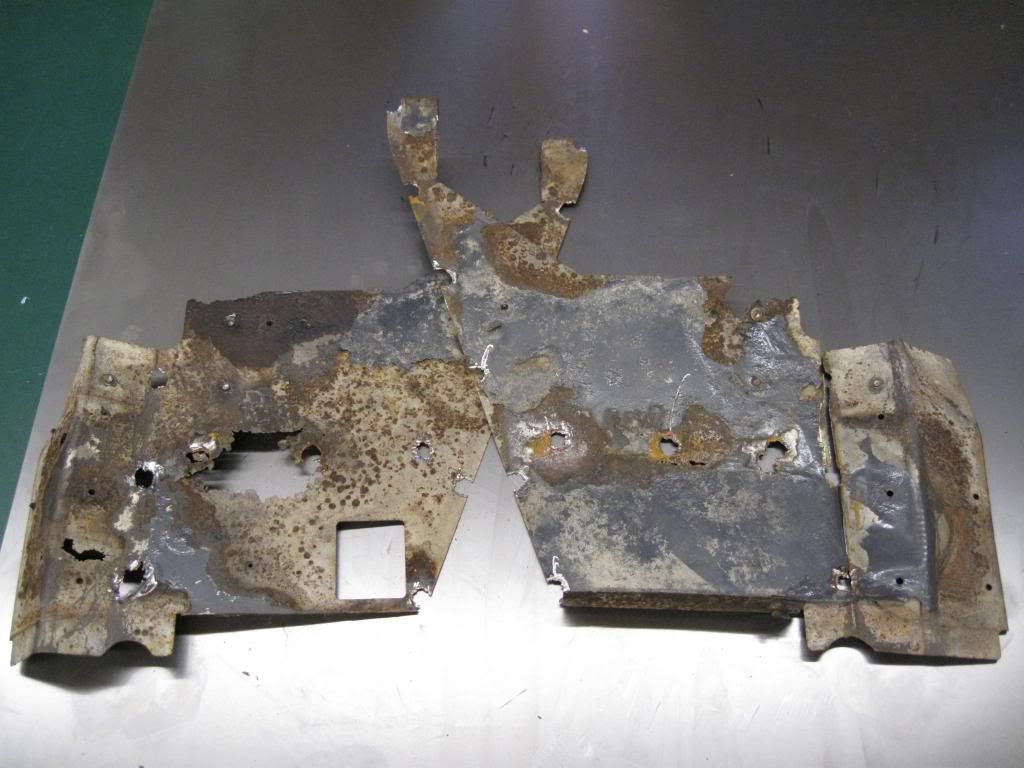
It was what was hiding under the floor mat that really told the story. Caked under the mat was a solid layer of moist sand that had really taken a toll on the floor boards.

Bottom of driver's side floorboard.
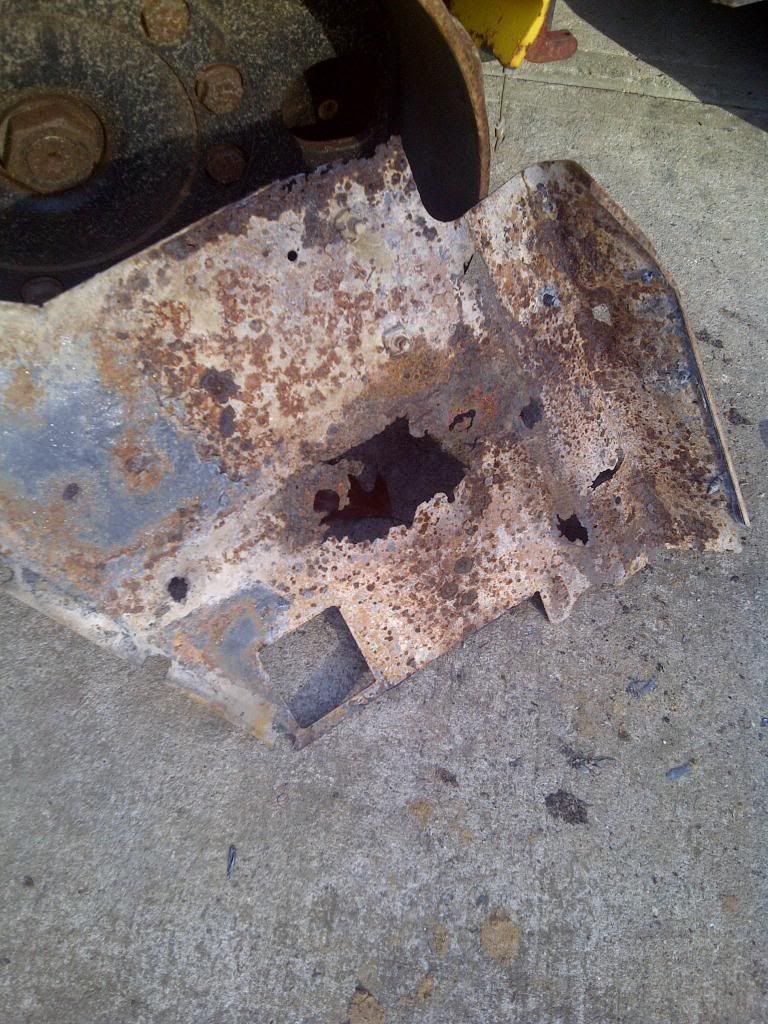
NortheastCobb-20121204-00165.jpg


It was obvious that we were in for a much more involved "clean-up" than we originally thought. We were now looking at some rebuilding too.

So, out came the cut-off wheels and grinders and we jumped in with both hands and feet. All front sheet metal needed to be removed, fabricated and replaced. Kubota doesn't sell the parts, so we were on our own.

I also knew that there would be a whole lot of "while we're at it..." that was going to lead to a lot of extra work to get my wife's "Orange Buggy" back on the road.

More to come.....

-RFL
 
on my 1100,,,there are many wires and cables and hoses that go thru there under the mat. Is that true on the 900?

I will be watching your progress, Have fun!
 
RYD:

Looks like you have a real project there. Lots of good folks here on the Forum with great ideas to help you along. If you have any extra money we can help you spend it.
Good luck.

Keifer
 
on my 1100,,,there are many wires and cables and hoses that go thru there under the mat. Is that true on the 900?

I will be watching your progress, Have fun!

Everything on the RTV900 is under the floor, running along the frame rails. Cables, hoses and wires although there aren't that many of them, maybe a dozen.

-RFL
 
The Saga Continues...

Here are a few more pictures of the rot we're dealing with.

Floorboards
IMG_0717_zpsd9901e60.jpg


Cut out section of driver's wheel tub.
IMG_0721_zps80dd9fed.jpg


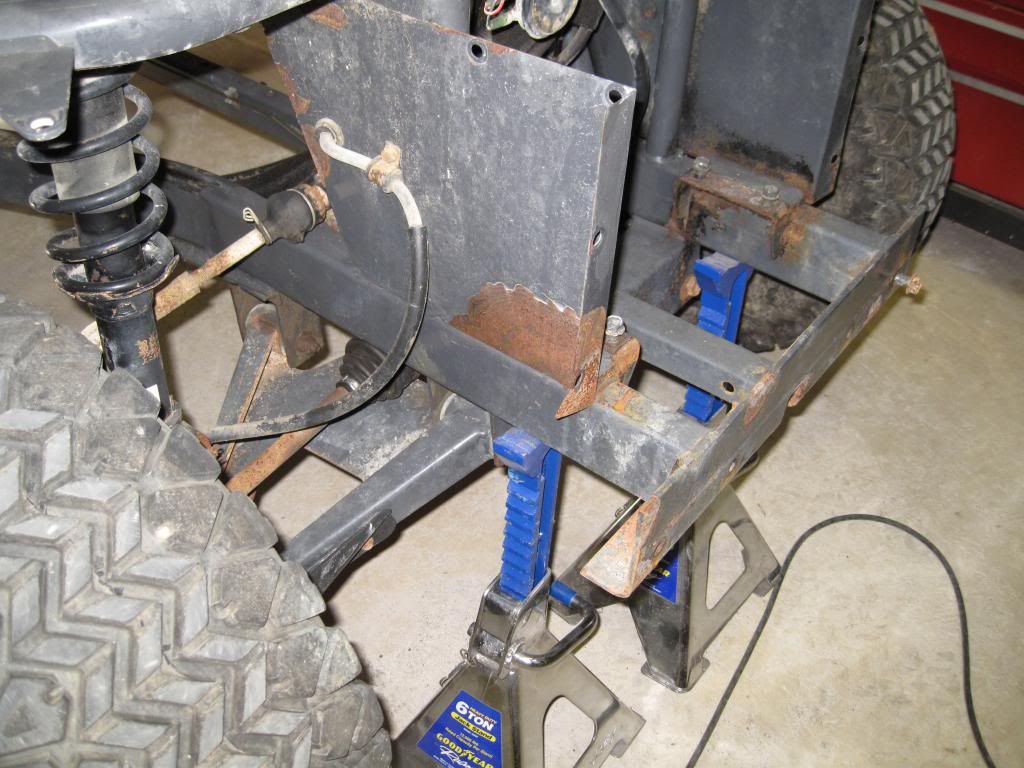
Here's what's left after removing bad sheet metal.
IMG_0709_zps2e7f5822.jpg


Cross member, step, it all had to go.
IMG_0711_zpsd724fb20.jpg


Winch cubby.
IMG_0708_zpsb2151f15.jpg


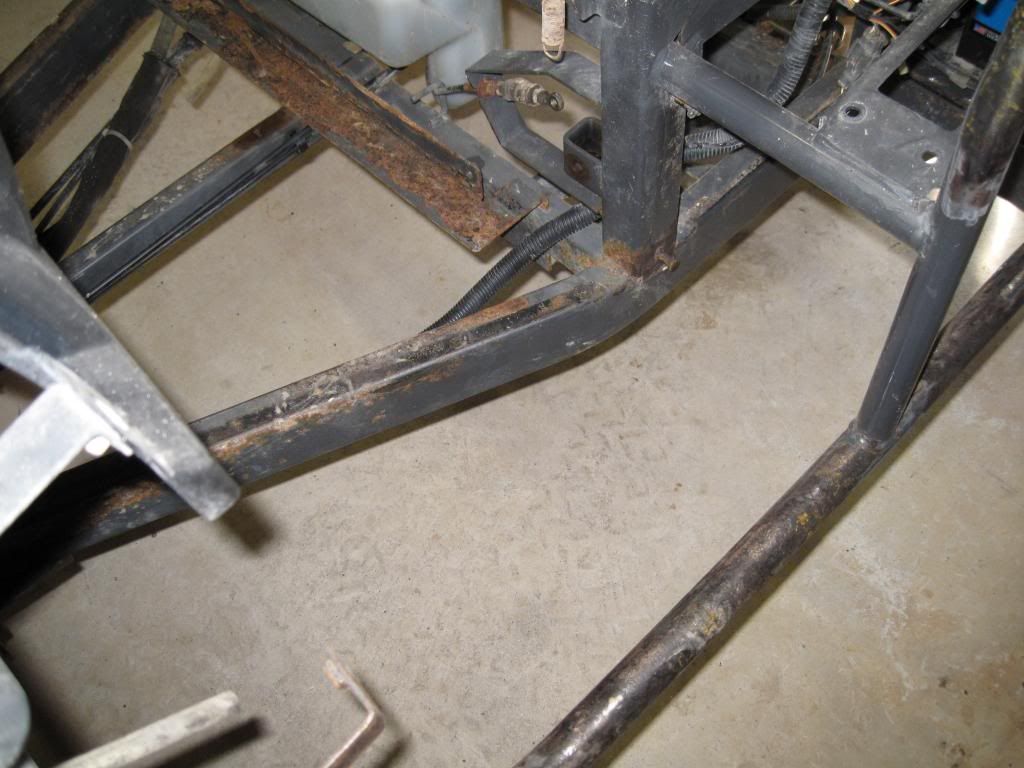
The rust was pretty pervasive throughout the front because of the sheet metal. The frame's not bad, so not much rust in the rear.

Next comes the first bit of fabrication.....

-RFL
 
Rebuilding Begins

First thing I did was to start working on the wheel wells. I had some 16ga steel laying around so it was off to cutting out the bad parts of the wheel tubs and stitching in some new stuff.

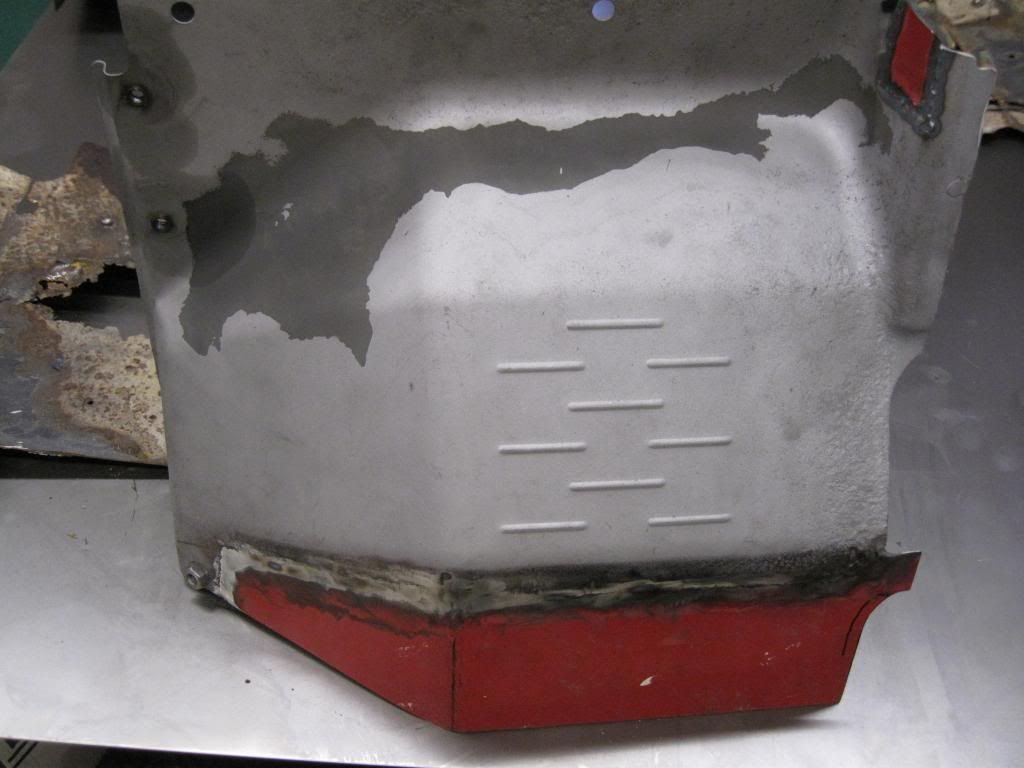
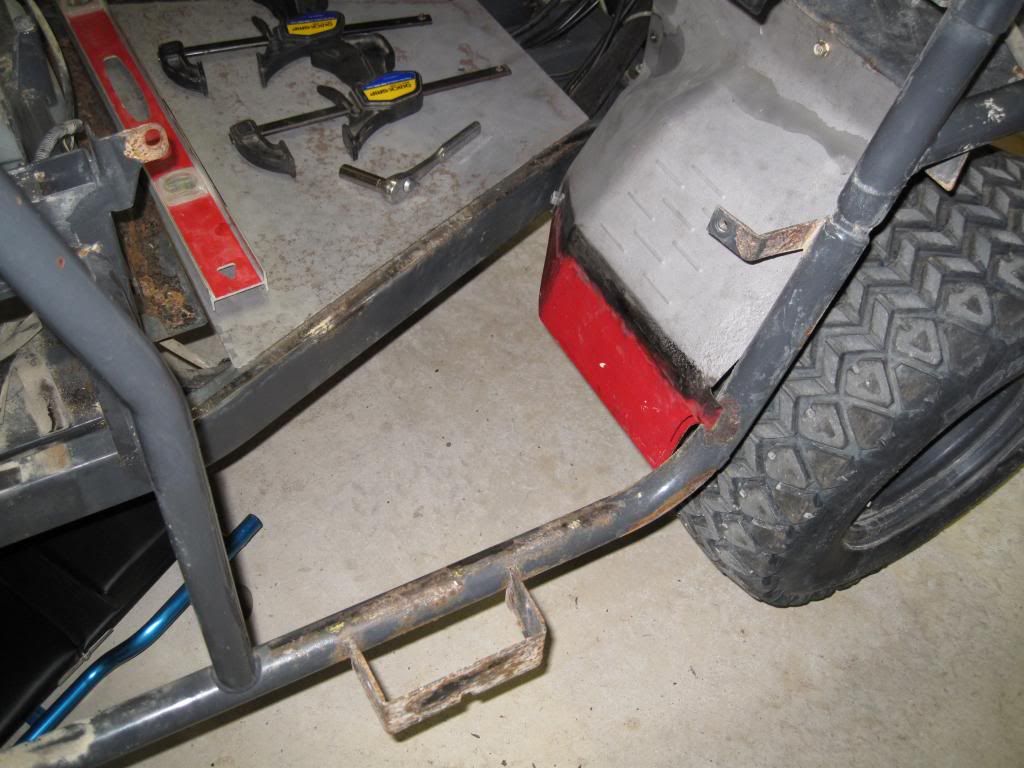
Here's the repaired passenger's wheel tub. It wasn't too bad and the rot was mostly confined to the lower band.
IMG_0722_zps777a352e.jpg


Trial fitting.
IMG_0741_zps1dccb08f.jpg


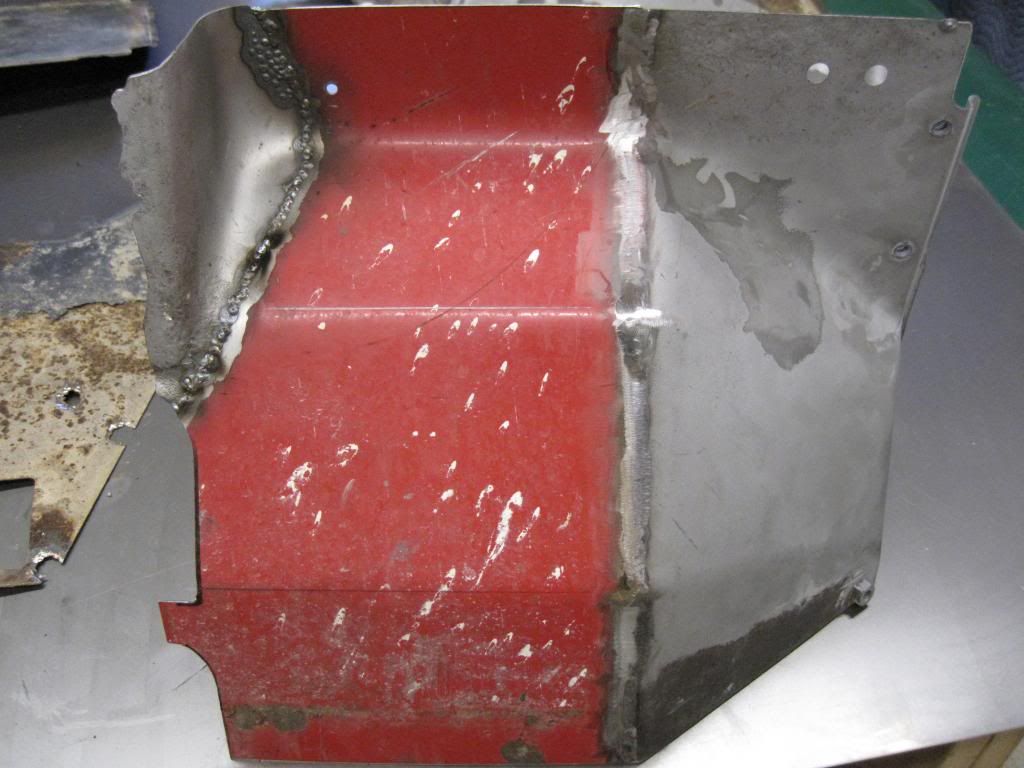
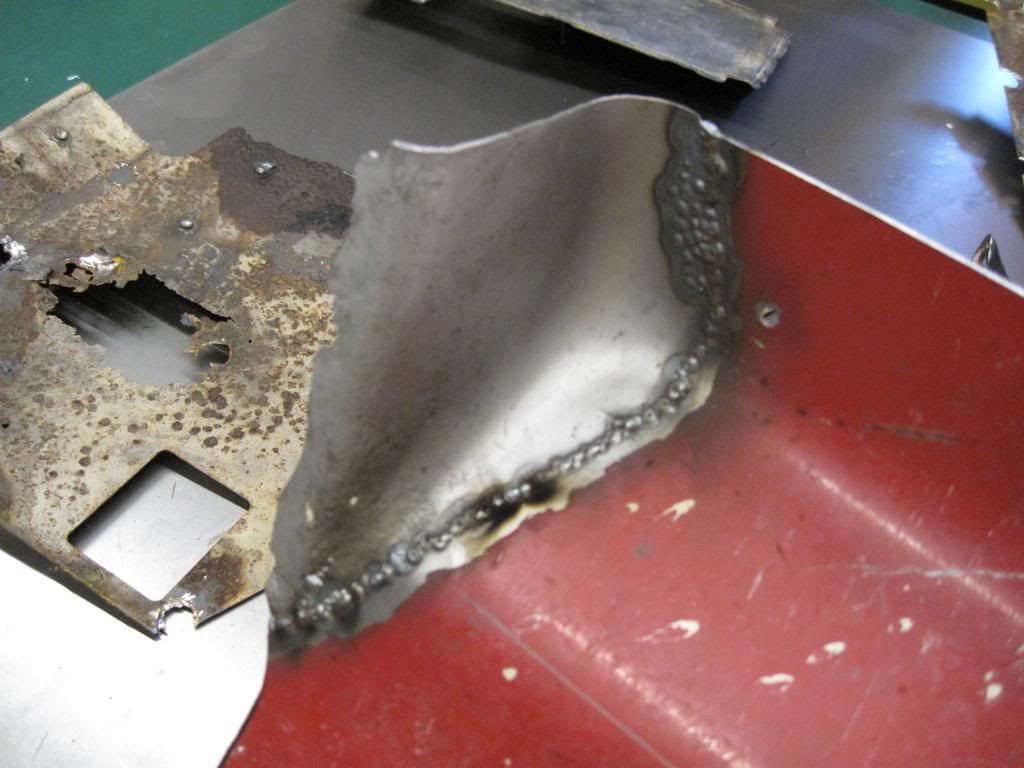
The driver's wheel tub was a bit worse and the rot was in a different spot. I cut out the center section and was able to stay away from the compound curves. At this point we started referring to the RTV as FrankenBuggy.
IMG_0723_zps02530562.jpg


The driver's piece was a good bit worse and required a bit of building up and just stringing together beads to create new a new since it was paper thin in several places.
IMG_0724_zps9438ba2b.jpg


Onto the easy parts.

I ran out of salvaged metal and got some new clean 16ga for the flat stuff. First off was to replace the panel in front of the battery.
IMG_0728_zps924cc941.jpg

IMG_0733_zpsbd3e6f46.jpg


This clean stuff sure is nicer to work with than the scrap.

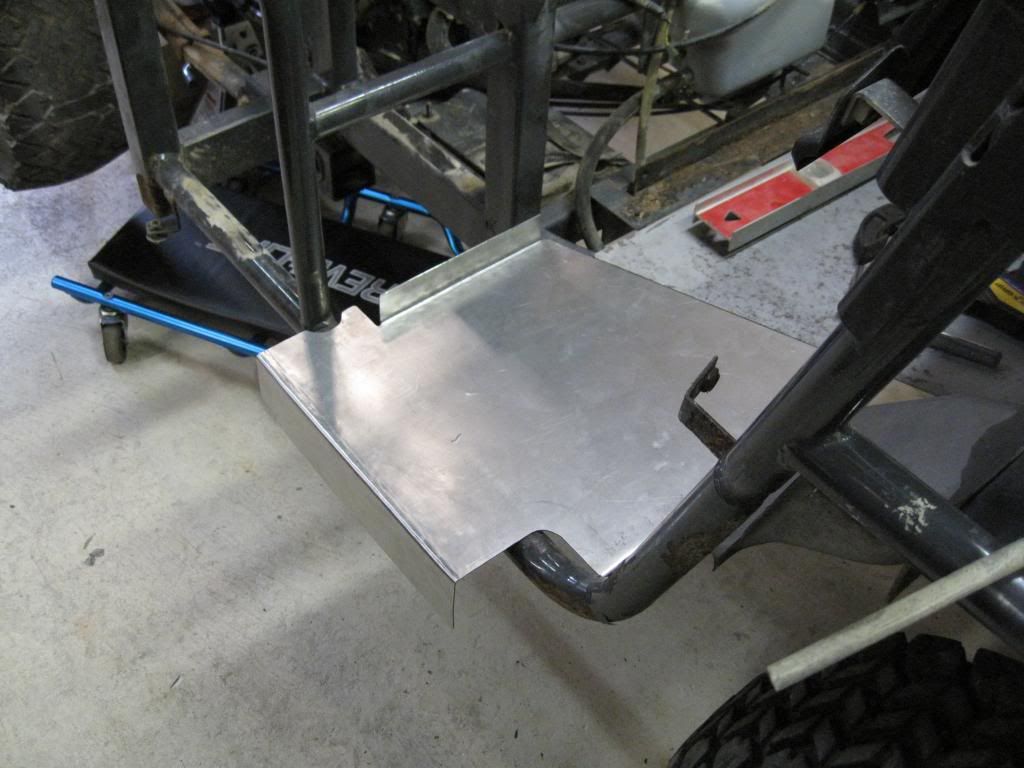
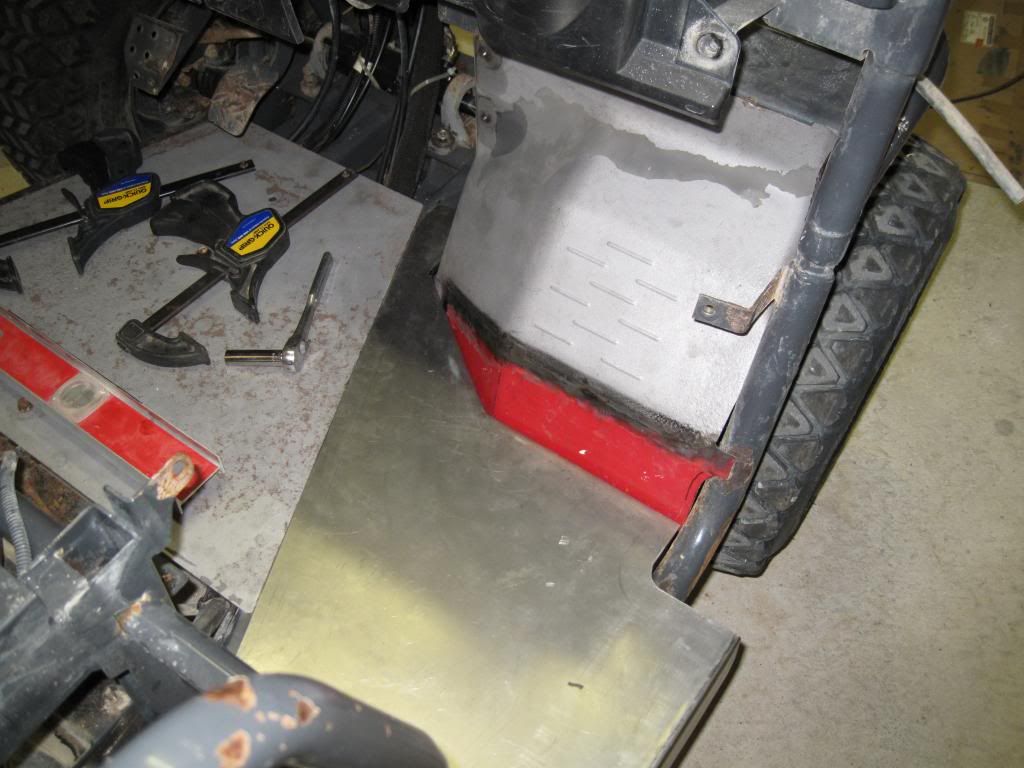
New floorboard time.
 
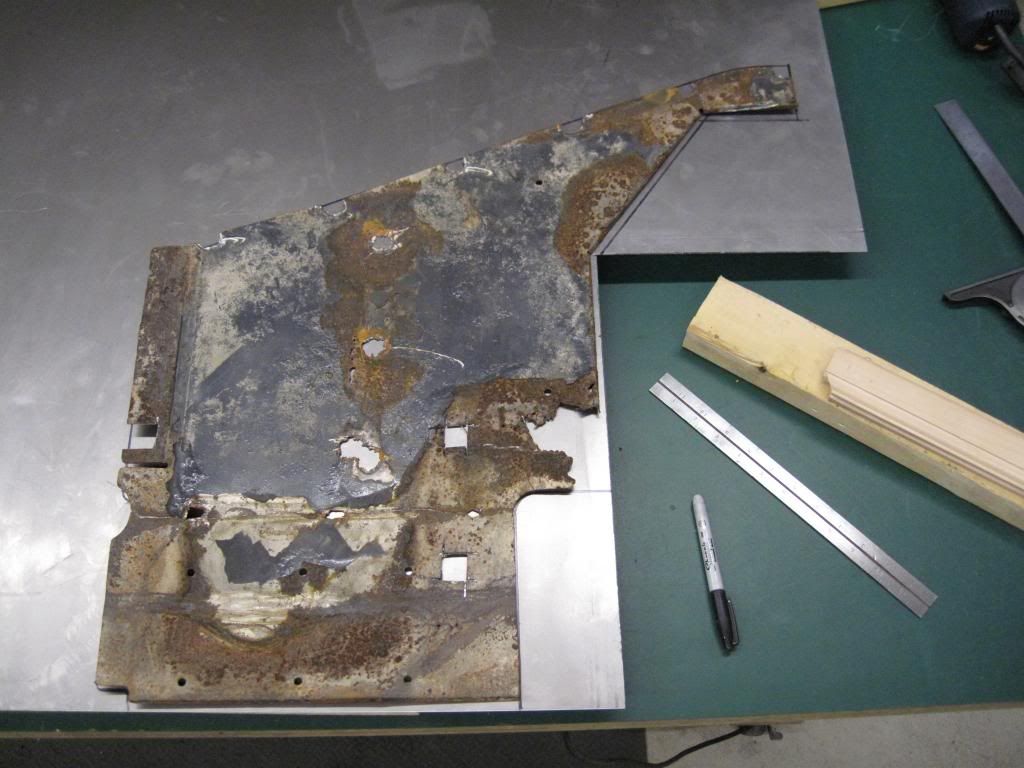
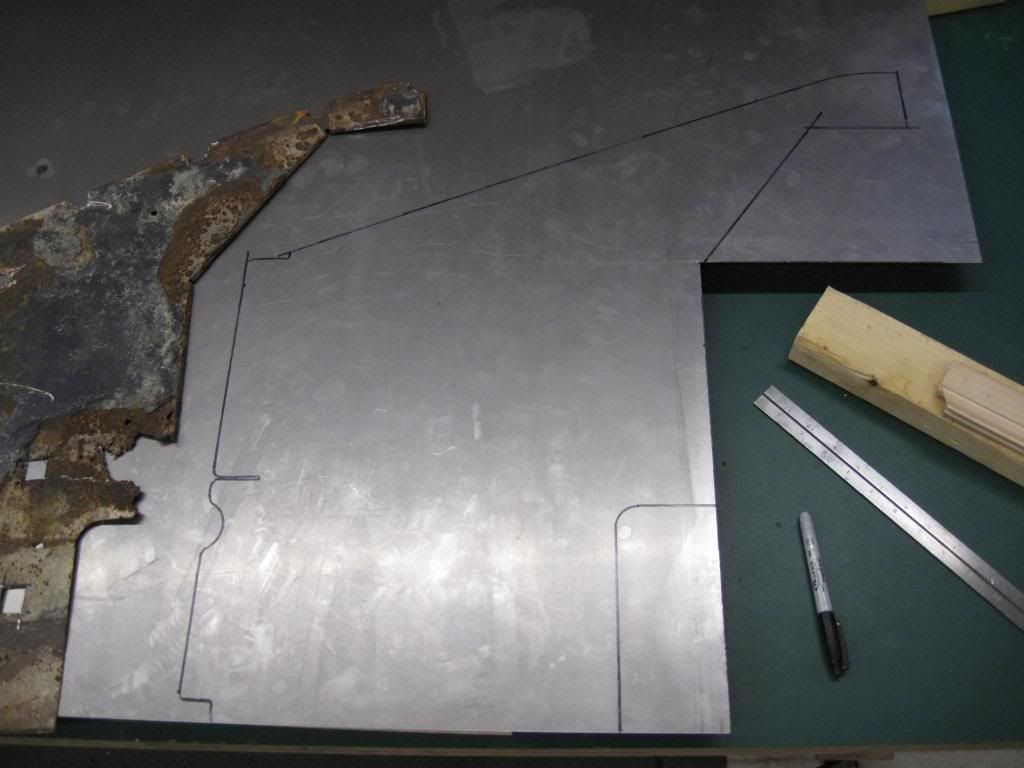
The floorboards are a bit larger and require some bending, but I was ready to give it a go. Jesse James I'm not, but I can do straight lines.

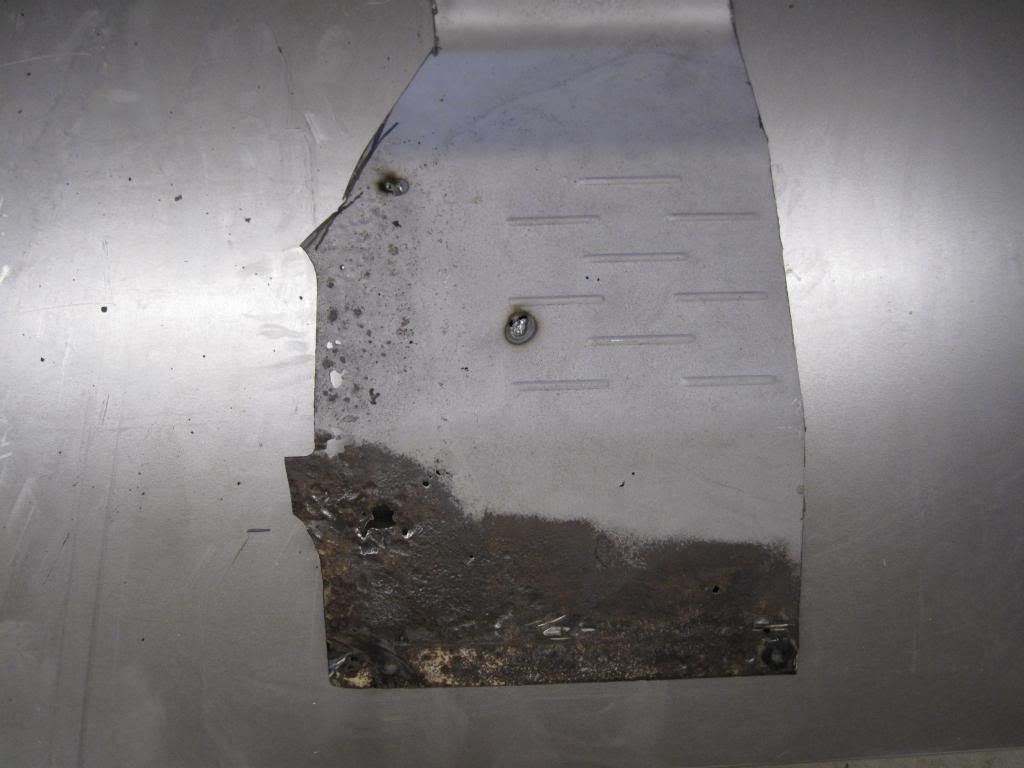
Use the old one for a pattern.
IMG_0734_zps5493eac6.jpg


IMG_0735_zps89fe60d9.jpg


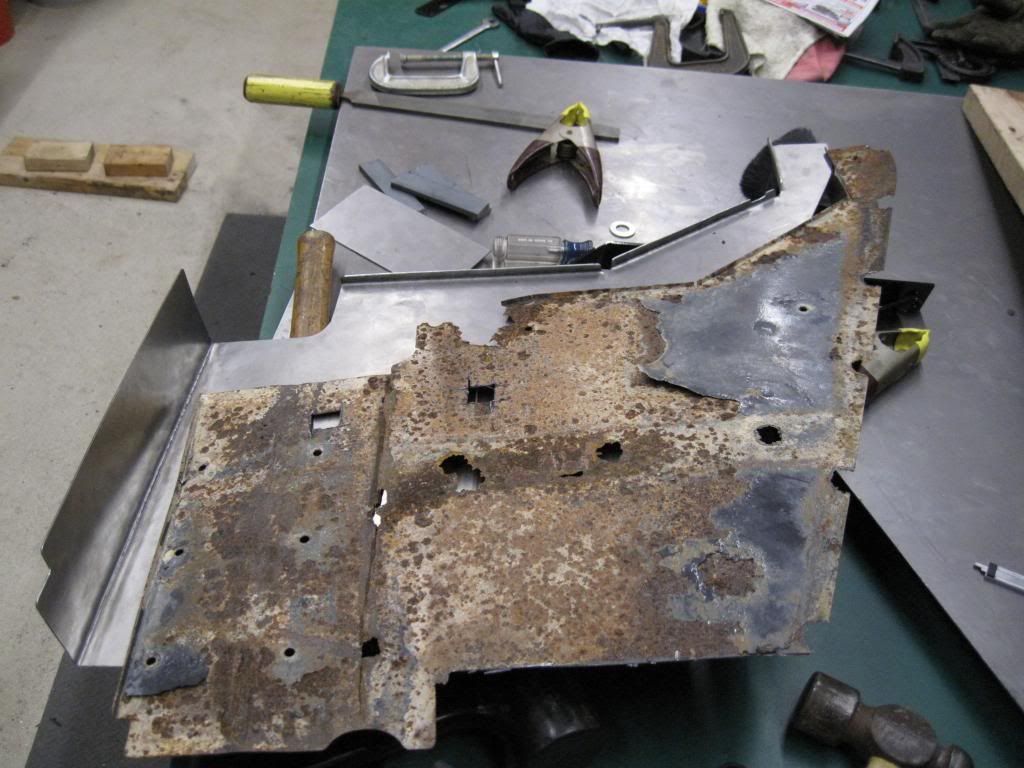
Knock down a few edges...
IMG_0737_zpse5494ecc.jpg


Viola!
IMG_0739_zpsd738487a.jpg


It fits.
IMG_0745_zpsf3ab2a26.jpg


IMG_0744_zps697d7337.jpg


It was at this point that a nagging voice in the back of my head said.... "While you're at it and in this deep, why not rip off everything up front and blast the bad spots."

I hate it when that happens.

-RFL
 
Wow, this will be an awesome project. Thanks for sharing all this with us. We are here for support and ideas if you need them, but it appears you have it all completely under control. Nice Job. :thumb:
 
ive noticed these things are pretty prone to rust, the ones at work here really get toreup from the salting they do. much worse than a truck would rust
 
Rydforlife, That looks like great work to me. I thought I might throw this at there for your consideration since you are doing the rebuild. : I had an '05 900 and the radiator was always filling up with seed and was in danger of stick gouging with the open area there under the radiator's front. . My '11 model 900 has a deflector in place there and it really helps deflect grass seed as well since the loovers are positioned so that the openings are to the rear. I like your pictures and keep up the good work. Not sure if you need this but the optional front mud flaps ( drilled out on underside in order to mount them. bordercollie
 

Attachments

  • DSCF3615.JPG
    DSCF3615.JPG
    36.3 KB · Views: 170
  • DSCF3649.jpg
    DSCF3649.jpg
    80.3 KB · Views: 170
  • DSCF3908.JPG
    DSCF3908.JPG
    34 KB · Views: 168
Rydforlife, That looks like great work to me. I thought I might throw this at there for your consideration since you are doing the rebuild. : I had an '05 900 and the radiator was always filling up with seed and was in danger of stick gouging with the open area there under the radiator's front. . My '11 model 900 has a deflector in place there and it really helps deflect grass seed as well since the loovers are positioned so that the openings are to the rear. I like your pictures and keep up the good work. Not sure if you need this but the optional front mud flaps ( drilled out on underside in order to mount them. bordercollie

BC,

The 2007 has the same set of louvers under the radiator and I've already got the mud flaps just waiting to get bolted in.

Thanks,

-RFL
 
Nice work! Gonna do some sandblasting before you put it back together?

Yes. In fact I spent two afternoons outside blasting it. Still some smaller spots left to do, but it's coming along. It's slow having to stop and collect the media when the pot goes dry.

-RFL
 
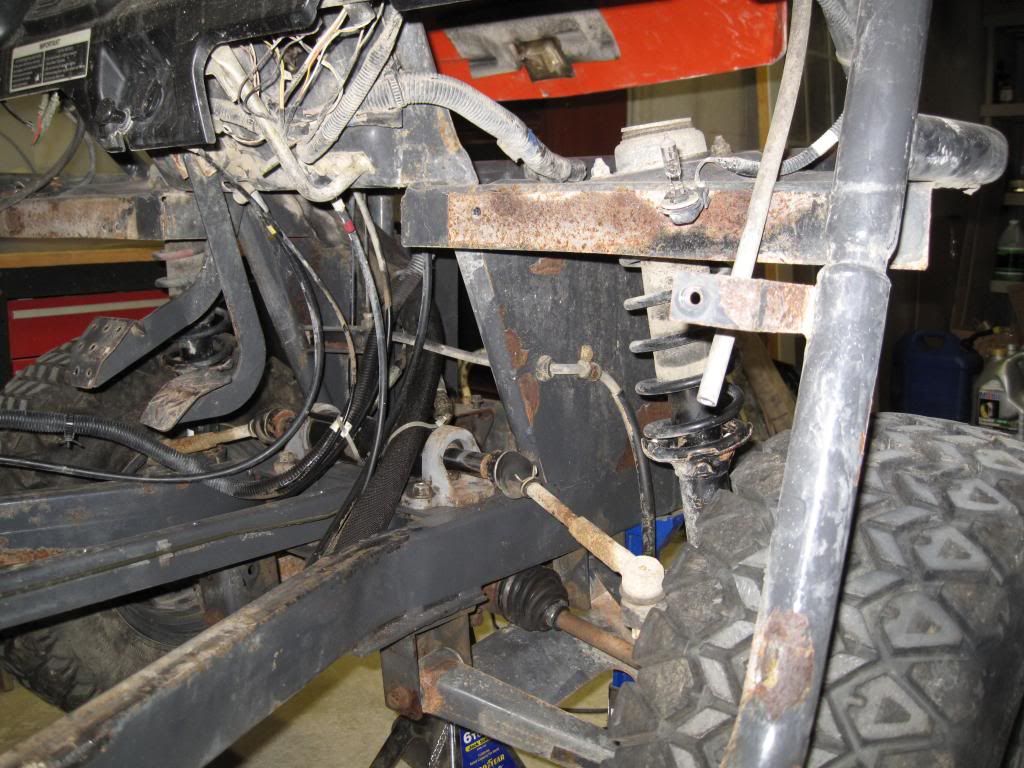
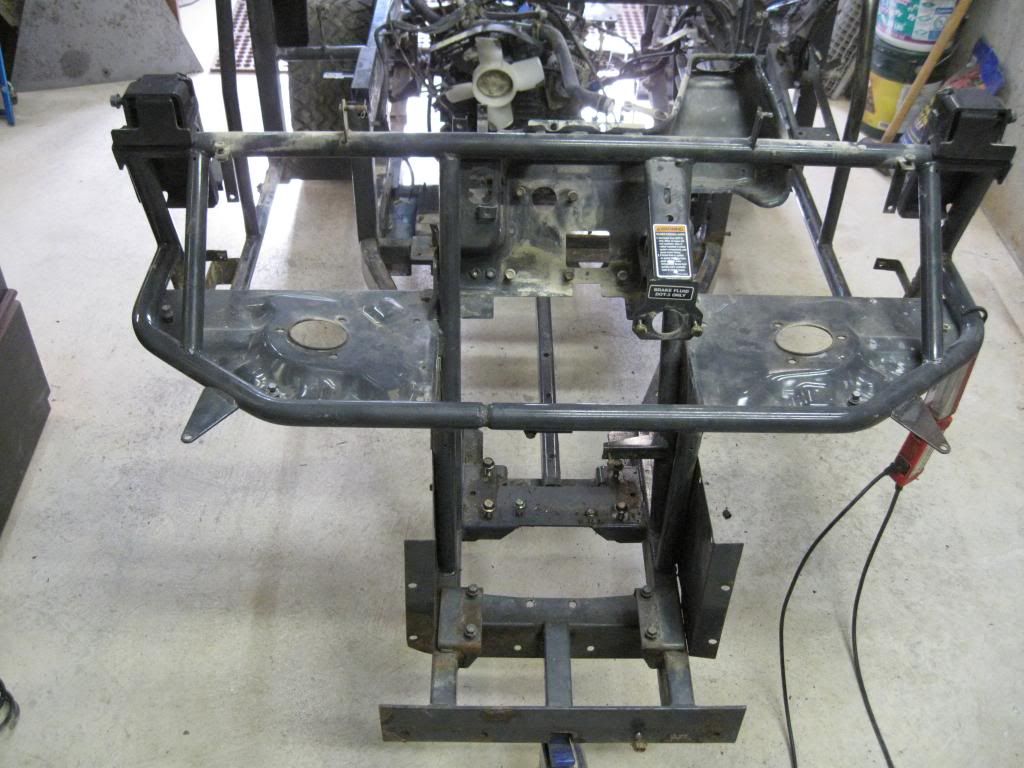
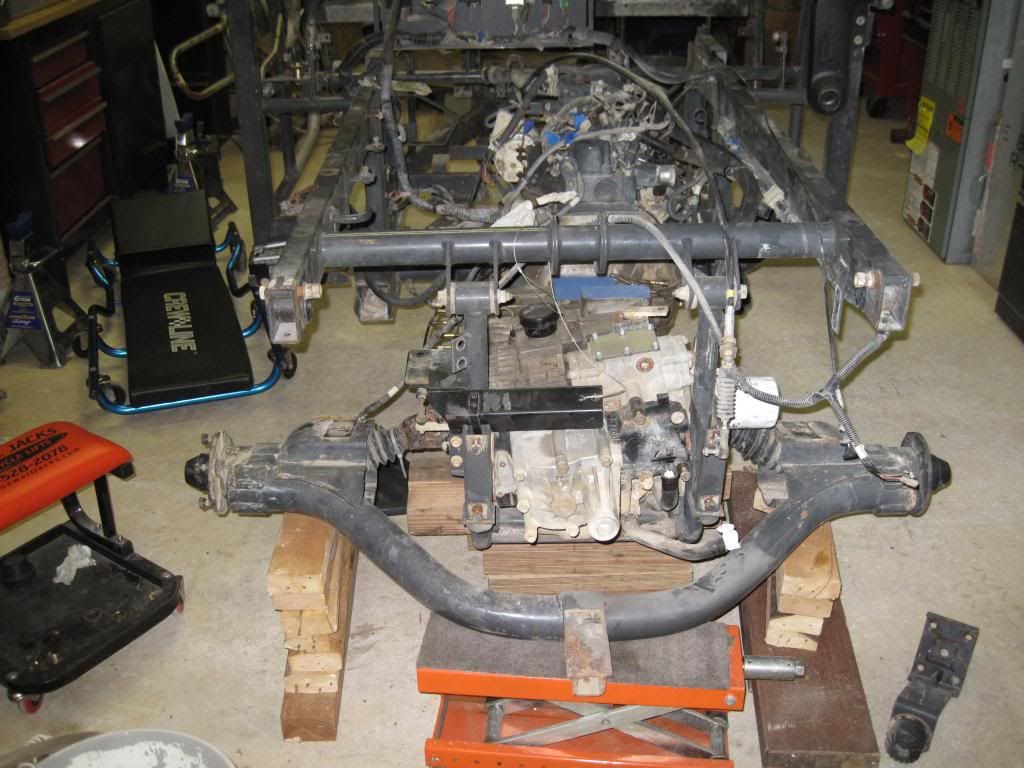
OK, after listening to the voice in my head, off came the front end, and everything else that wasn't welded in place. This was mainly done so I could get it outside to blast it. Maneuvering it around is a bit straining, but after welding a tab to the bottom rear of the front hitch tube, all it takes is a stiff bar and a few grunts to move it around. I'll take some pictures of the post-blasted frame. I was amazed at how much paint was already lifted up and ready to fly off with a shot of air.

IMG_0782_zps96d4183d.jpg


IMG_0781_zpscabab334.jpg


IMG_0799_zps098bba6a.jpg


... and then like a disease, it spread.

IMG_0808_zps6c5cbe55.jpg


IMG_0807_zpsf285ecd4.jpg


So now there isn't any suspension on it and it's sitting where it is until the rear springs are ready to go back on. I popped the springs apart to make blasting easier. They were pretty full of trapped dirt and grime. Hopefully I can get them back together and reinstalled this weekend.

More to come later. I wish I had taken more pictures AS it was coming apart. I only thought about the camera every now and then. Sorry.

-RFL
 
Good job and the pictures are right on. I hate to ask because I know that you are doing the metal work at this stage , but how are the rear u joints. ? That bumper picture with the joints there, all easy to get to, is teasing me and luring me to ask.... Have they been updated to the greaseable ones? Just curious if they had been replaced, if I remember correctly, my old style on the '05 went out at 1800 hrs the first time. Whenever it was, they went out 2x in 4000 hours. Thanks and again, excellent job. bordercollie
 
BC,

Both rear u-joints and the fronts have been replaced and no, they're not greasable. The only thing in the driveline left is the intermediate shaft from the tranny to the crossmember. This has one u-joint at the tranny that is wobbly on the shaft and it's original.

-RFL
 
It's a little late now but you and fishguts should have gotten together. He has a new chassis but no engine. You, engine with no chassis. ;)
 
Top